Hey guys, it’s me, António again. 👋 Last time we interacted I was writing about a simple technical introduction to Augmented Reality (AR) and how freaking amazing it is 🌟 so, if you haven’t already, please give it a read. I promise it’s not as boring as its title might lead you to believe. 😅
Full disclosure, this blog post is not about teaching you the basics of ARKit, there are already plenty of good tutorials out there (here’s a really cool one!) and I don’t want to just write another one of those. I want to take you on a journey through the process of an actual initial hands-on experience with a very promising up-and-coming piece of technology that results in an actually useful AR experience, and not just some technological showcase of loosely coupled standalone features and gimmicks. (This sentence was a mouthful of adjectives, but that’s the point!) So without further ado, let’s get to it.

# ARKit
As I mentioned in my previous post, I decided to take ARKit for a spin, and let me tell you, what a ride it has been!
For those of you who haven’t heard of ARKit before, it’s Apple’s official toolkit for developing augmented reality applications for iOS. It takes advantage of their latest A11 chips and depth-perceiving cameras, providing the following features:
- Persistent AR experiences between sessions, which can be resumed at a later time;
- AR sessions can also be shared simultaneously by multiple users, each with their own iOS device;
- Plane and surface detection in the real-world environment;
- Feature detection of images and objects in the real-world;
- Image and object detection and tracking in the real-world environment;
- **Physics engine **for AR objects to interact with each other and their environment.
And we’re only scratching the surface, as with each installment the number of features, their reliability, and the way they complement each other increases beyond our expectations. 😁
# Motivation
So in order to experience this technological wonder and gain some inspiration, I downloaded iOS 12 and Xcode 10 (the minimum requirements for ARKit 2), downloaded all of Apple’s demos, a couple of open-source projects and basked in their greatness. I was instantly hooked. Play around with SwiftShot or watch the following video. This is no gimmick, and it’s amazing!
So I played around with SwiftShot, which gave me a glimpse of how plane detection is achieved and how the AR physics engine interacts with them, then I took a look at some Image Recognition demos, giving me a deeper insight into the current limitations of image tracking and detection, and lastly, I read a lot of posts on Medium about great ideas, concepts and use cases for AR apps and experiences. Having found some inspiration, and after some cycles of brainstorming and prototyping, I finally knew what I wanted to make! 🤩
# Problem Statement
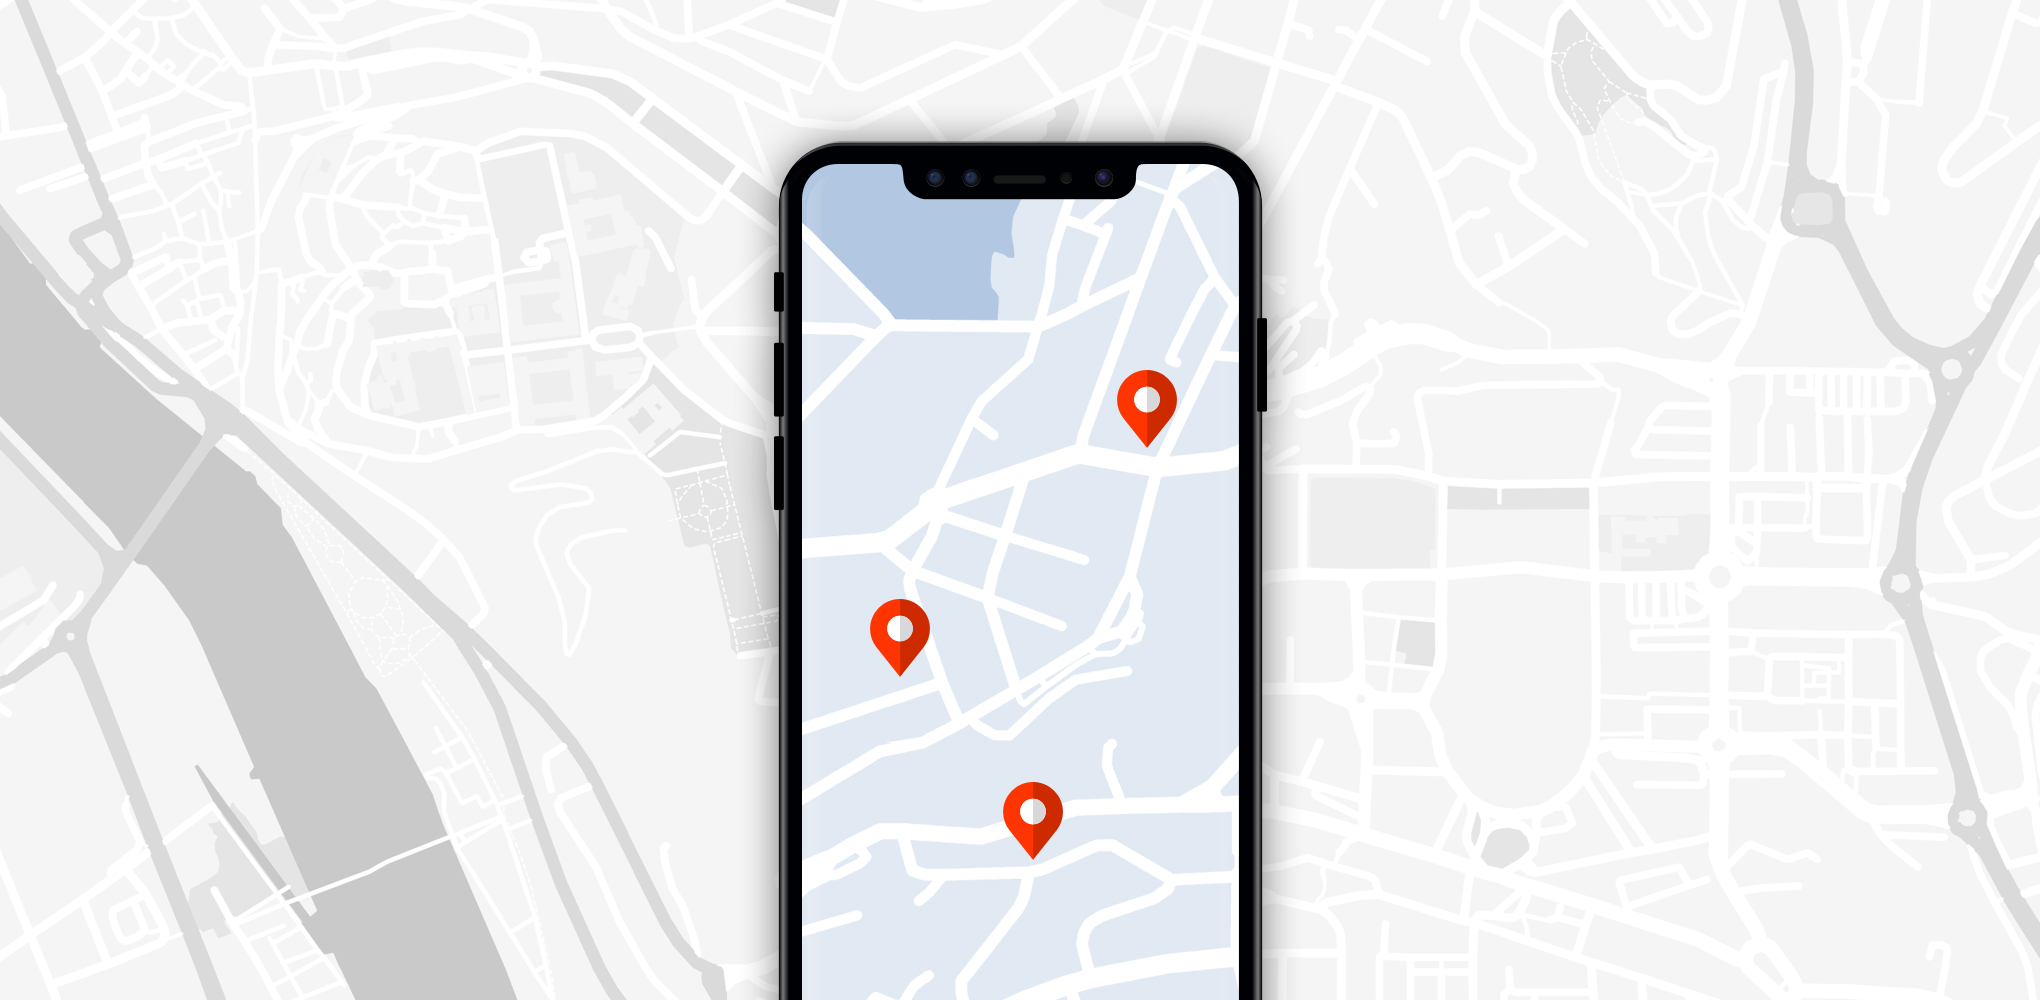
Some people are just not that great at reading maps 🗺 and directions 🔙, which can be particularly challenging if you are a tourist in an unknown place, so why not build an AR app that shows you nearby points of interest (POIs), how far away they are, and how to reach them?
Seems as good a pet project as any, so let’s list exactly what this app needs in order to achieve our goal:
- We need to know the user’s current location, which means using the device’s GPS location;
- We can now search for nearby points of interest such as restaurants, monuments, tourist attractions, etc.;
- Then we’re gonna need an AR scene placed around the user’s location;
- In this scene, we need to place the POIs relative to the user’s current position;
- When a POI is selected, we can fetch directions from the user’s current location to it;
- These directions are then added to the AR scene.
Oh boy, this isn’t looking that simple anymore 🤕, but that shouldn’t be a problem! At a first glance, we could use CoreLocation and MapKit to do all the heavy lifting for the GPS, POIs and directions aspects of the app; we’re also going to need ARKit and SceneKit to manage our AR scene.
# Getting Started
First off, you can check out this sample repository I used to test out and showcase our little AR adventure. It provides a simple app using only ARKit to place an object in your AR scene, and it also has our complex sample of POI navigation in an AR scene. Included bugs are to be considered features. 🤓
You are going to need Xcode 9 and iOS 11, which are the minimum requirements for working with ARKit and SceneKit. However, keep in mind that all of the code snippets in this article were made using Xcode 10 and iOS 12 ⚠️, since ARKit’s newest features aren’t available for previous installments and I wanted to be on the forefront of it all.
The focus of this article isn’t really about guiding you through setting up and coding the AR project itself. If you need help setting up an AR project from scratch, I’m going to refer you to this wonderful set of articles. If you’re still going for the “pseudo-code-along”, have updated your development environment, and set up an AR project, then the fun part is about to begin. 🤓
# Points of Interest
If you recall our initial analysis, we intend to use CoreLocation and MapKit for the GPS, POIs, and routing; and this AR app obviously needs ARKit and SceneKit for the AR part. 😜 But before we do any fancy stuff with AR, we’re going to need some data to work with, a.k.a, the POIs around the user’s current location.

To get started, all we have to do is import CoreLocation into our project, next we need to set up a LocationManager that will continuously feed us the user’s GPS location. For the purpose of our app, and since AR will already be draining the battery, I’ve decided to go with an accuracy that should be good enough for walking around, but feel free to try out other accuracies.
And once we have the user’s location, we can just issue a query for nearby POIs using MapKit. I’ve chosen to only include locations within 2 Km of the user’s current location, which should include anything within walking distance.
We now have nearby POIs and can go back to the “Augmented Reality” part of our app. This is about half of our Intellectual Property’s value in only a handful of lines!
# AR & GPS
After digging a bit around in this awesome collection of iOS AR resources, I found a couple of promising projects that might help us with AR and our POI’s GPS locations:
- https://github.com/DanijelHuis/HDAugmentedReality
- https://github.com/chriswebb09/ARKitNavigationDemo
- https://github.com/ProjectDent/ARKit-CoreLocation
After giving them all a try, I decided to opt for ARCL as it offers a really clean and easy to use out-of-the-box experience for setting up a GPS aware AR scene. What I mean by this last part is that objects placed in our AR scene respect their real-world GPS positions and distances. I can already hear some of you thinking to yourselves “why didn’t he just build this from scratch?”. Well, I encourage you to think of the problem at hands and its inevitable complexity:
Once you have the POIs near the user’s current location, where do you place them in your AR scene?
Unfortunately, your AR scene’s reference planes don’t match up with the ones used by GPS coordinates out-of-the-box 😞 How do you align them? Do you use the phone’s compass and your current location as the point of reference? What’s more, your AR scene’s “ground” plane appears to be perfectly flat, which might work for small distances between locations, but won’t accurately depict an object’s position over greater distances due to the Earth’s curvature 🌍 (unless you believe the Earth is flat 🤪). As you can see, it’s not an easy challenge to tackle head-on and in order to cut some unnecessarily hard corners: ARCL to the rescue!

Full disclosure: the curvature of the Earth wasn’t going to affect our app in any visible way, as we’ll be dealing with “small” distances of at most 2 Km, but by thinking about potential problems and opting to use ARCL as a mitigator we’re already making a sturdier application. 😉
# AR POI Scene
As with our first AR scene, it also doesn’t take much to add our recently acquired POIs using the ARCL framework. We’re going take a page from their book and create a custom node that extends LocationNode **(which in turn extends **SCNNode): our very own LocationTextAnnotationNode.
A LocationTextAnnotationNode is comprised of a text child node, used to display the name of the POI and it’s relative distance to our current position; and an image node, which we use to visually locate the POI in the AR scene. As you can see, the majority of the code itself is about how each node should be presented aesthetically, with little thought being poured into how it will all fall into place within the AR scene… 🤔 Thanks to ARCL doing the heavy lifting!
After being created, each LocationTextAnnotationNode is then added to the AR scene. Pretty simple, right?
# POI Routing
Now that the POIs have been properly placed in our AR scene, we want to be able to interact with them, enabling us to select a destination and ask for walking directions to it. Setting up the tap gesture recognizer isn’t too troublesome, we just need to hit-test the tapped location in our AR scene, retrieving all affected scene nodes, and we just pick the first eligible match.
Having selected a POI, we want to ask for directions from our current location to its GPS coordinates, which we will be addressing as a contiguous bundle of route segments, and finally translate those directions into scene nodes we can add to our AR scene.
# 🏁 Finish Line 🏁
And that’s it, we have everything we need for an AR app that:
- ✅ Knows the user’s current GPS location;
- ✅ Can search for nearby points of interest such as restaurants, monuments, tourist attractions, etc.;
- ✅ Has an AR scene around the user’s location;
- ✅ Places the POIs relative to the user’s current position in the AR scene;
- ✅ When a POI is selected, fetches directions from the user’s current location to its GPS location;
- ✅ The directions are added to the AR scene as nodes and segments, defining a clear route to follow.
Be sure to check the finished product over at the repo if you need some more clues on how to glue everything together nicely, since I had to omit large portions of the codebase from this article in order to keep your vested interest in check. 😅
Oh, and don’t forget to take the app out for a spin! 😃
# Wrapping up
I hope this post has complemented the previous one, giving you a deeper look into the amazing world of AR development and potentially inspired you even further to develop your very own app. I’d love to hear about what you end up creating, so please keep me posted!
Once again, I’m going to leave a bunch of materials at the end of the page that, in some shape or form, helped me write this post. Feel free to comment or send me any other interesting/helpful projects and tutorials you might have found and I’ll include them here.
See you soon! 👋
# Helpful Links
# Apple Showcasing ARKit
- https://developer.apple.com/arkit/
- https://developer.apple.com/arkit/gallery/
- https://www.apple.com/lae/ios/augmented-reality/
# Official ARKit Documentation
- https://developer.apple.com/documentation/arkit
- https://developer.apple.com/documentation/arkit/arworldmap
- https://developer.apple.com/documentation/arkit/creating_a_multiuser_ar_experience
- https://developer.apple.com/documentation/arkit/handling_3d_interaction_and_ui_controls_in_augmented_reality
- https://developer.apple.com/documentation/arkit/handling_3d_interaction_and_ui_controls_in_augmented_reality
- https://developer.apple.com/documentation/arkit/recognizing_images_in_an_ar_experience
- https://developer.apple.com/documentation/arkit/scanning_and_detecting_3d_objects
- https://developer.apple.com/documentation/arkit/swiftshot_creating_a_game_for_augmented_reality
- https://developer.apple.com/documentation/arkit/swiftshot_creating_a_game_for_augmented_reality
- https://developer.apple.com/documentation/arkit/using_vision_in_real_time_with_arkit
# Other Official Apple Documentation
- https://developer.apple.com/documentation/corelocation
- https://developer.apple.com/documentation/vision/tracking_multiple_objects_or_rectangles_in_video
# WWDC videos on ARKit
- https://developer.apple.com/videos/play/wwdc2018/602
- https://developer.apple.com/videos/play/wwdc2018/603
- https://developer.apple.com/videos/play/wwdc2018/610
- https://developer.apple.com/videos/play/wwdc2018/805
# ARKit libraries
- https://github.com/chriswebb09/ARKitNavigationDemo
- https://github.com/DanijelHuis/HDAugmentedReality
- https://github.com/olucurious/Awesome-ARKit
- https://github.com/ProjectDent/ARKit-CoreLocation
# Misc. Articles
- https://medium.com/journey-of-one-thousand-apps/arkit-and-corelocation-part-one-fc7cb2fa0150
- https://rubygarage.org/blog/create-augmented-reality-app-for-ios-11
- https://www.3dgep.com/understanding-quaternions/
- https://www.raywenderlich.com/110054/routing-mapkit-core-location
- https://www.raywenderlich.com/146436/augmented-reality-ios-tutorial-location-based-2
- https://www.raywenderlich.com/171726/why-i-love-arkit-apple-ios-11
- https://youtu.be/WTiakRbUF3g
# AR assets
- http://graphics.pixar.com/usd/docs/USD-Frequently-Asked-Questions.html
- http://graphics.pixar.com/usd/downloads.html
- https://medium.com/@konathalasuren/all-about-apples-new-usdz-file-format-simplified-12dff29f3fc0
Originally published on Medium